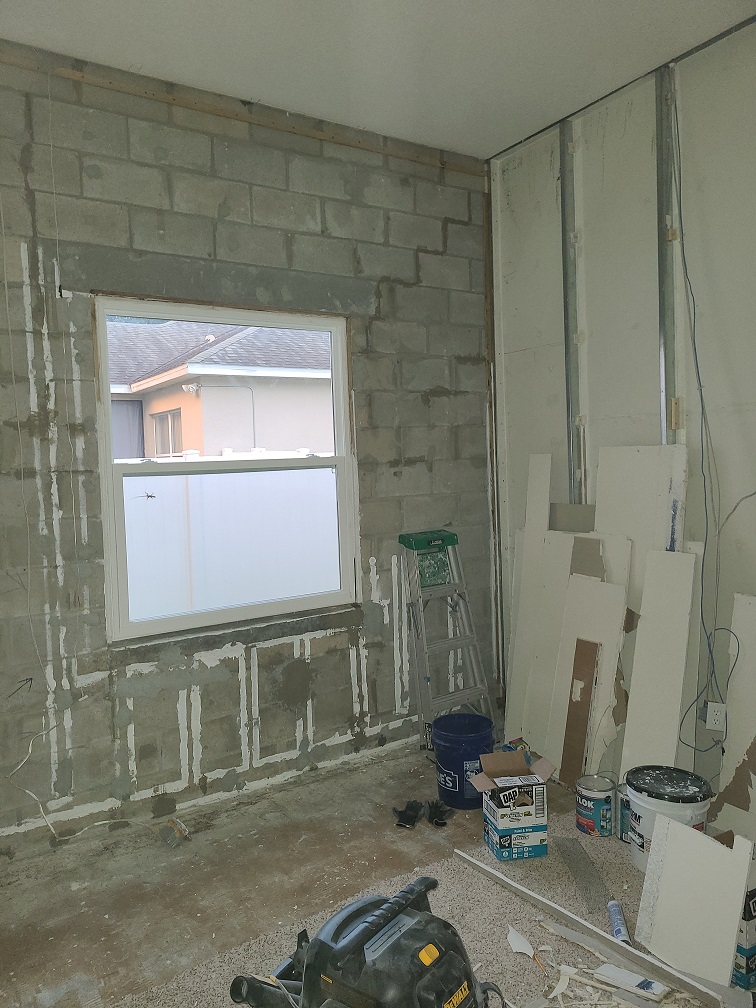
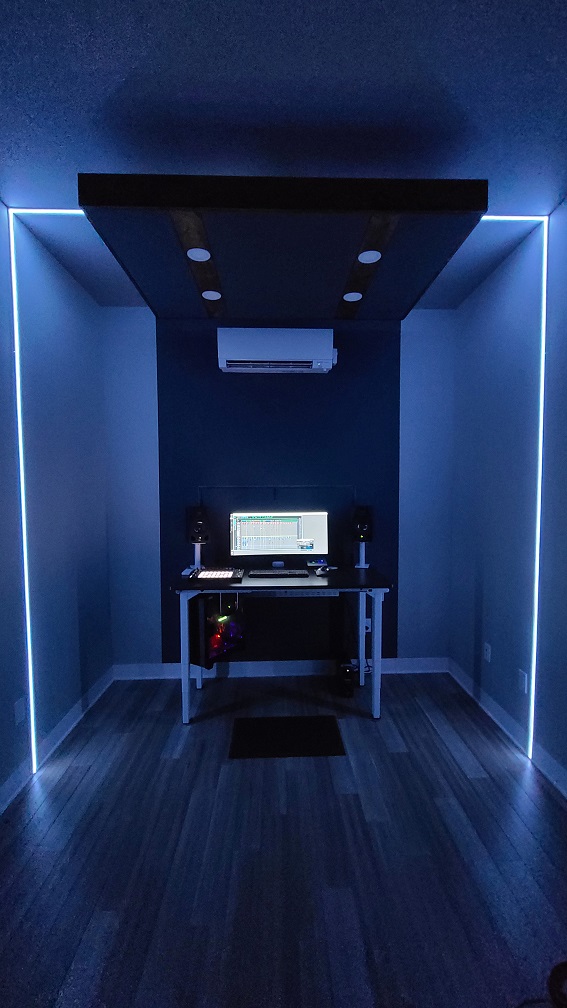
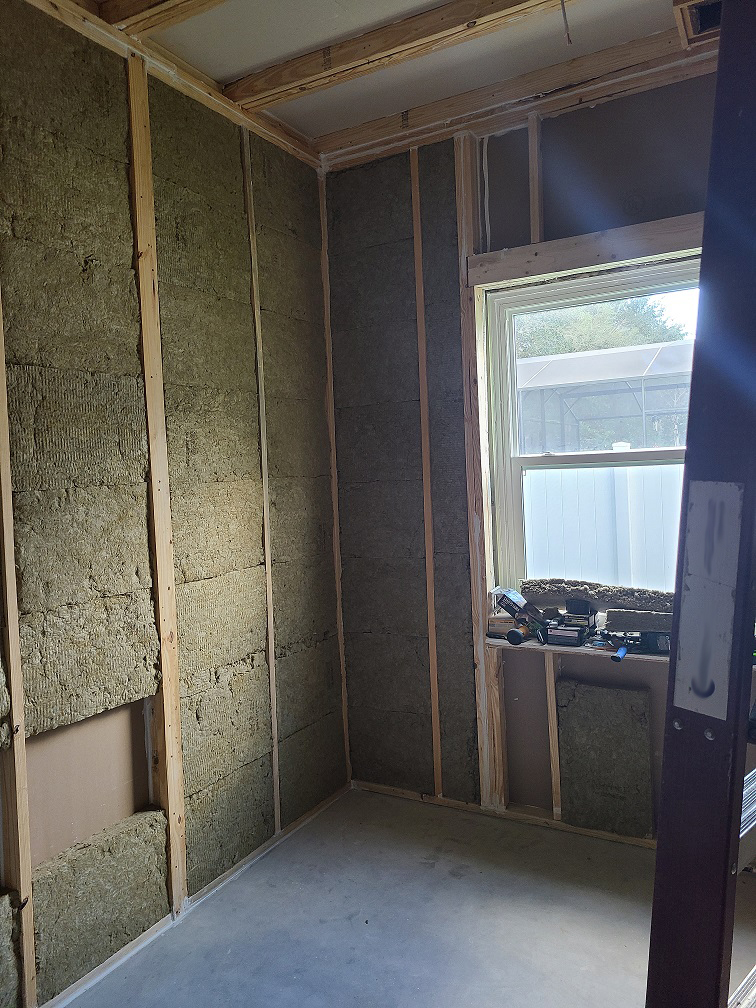
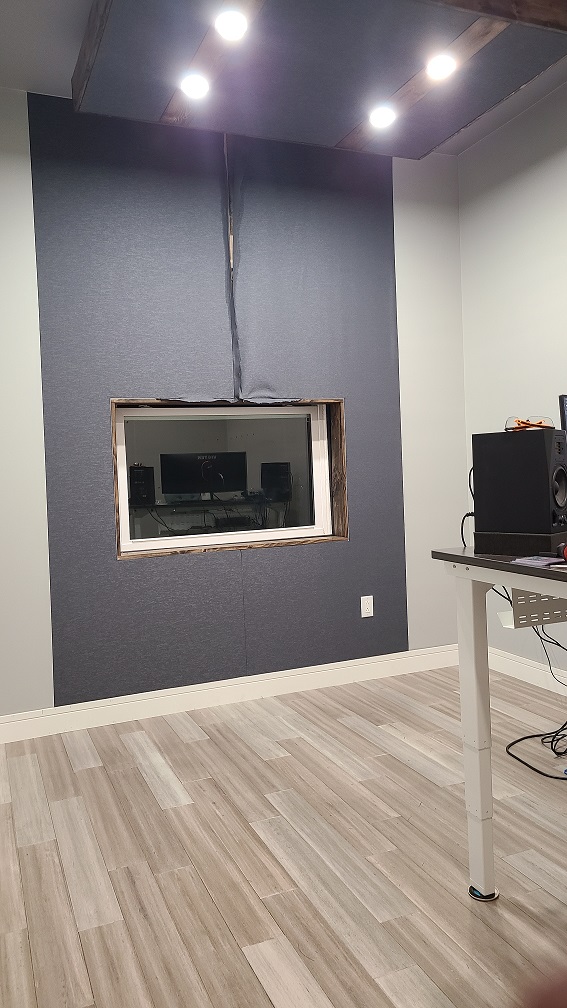
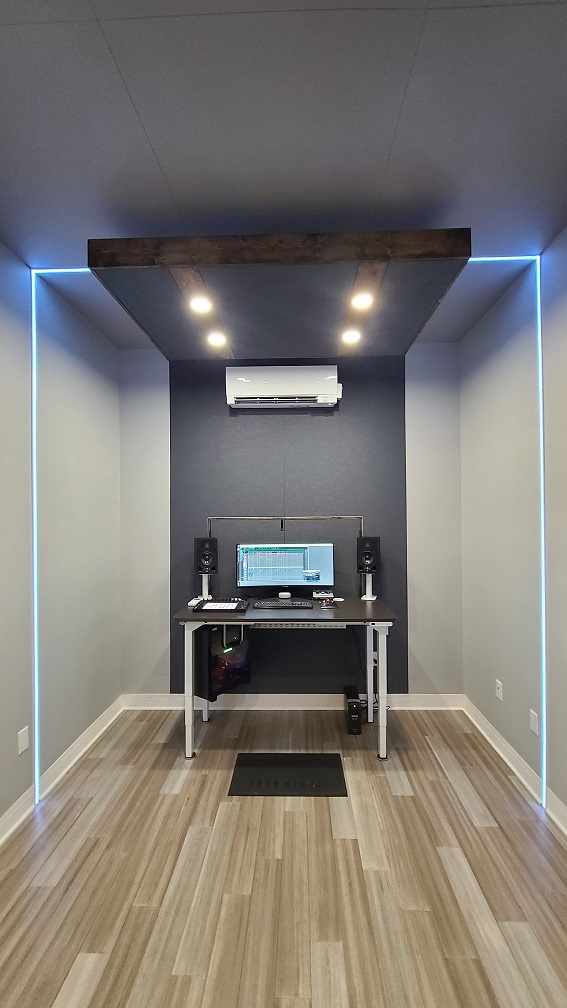
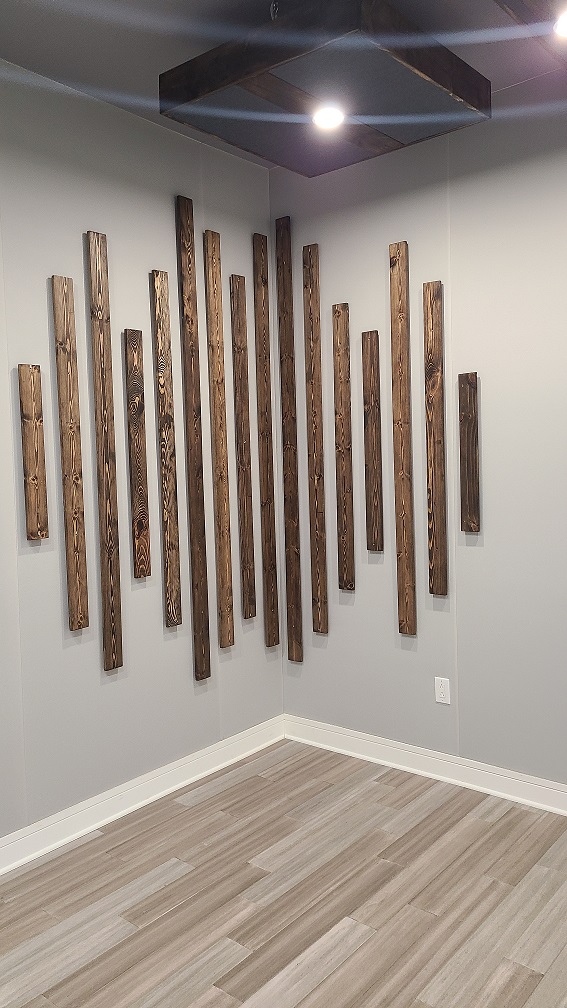
I tore an existing room down to the studs and built a decoupled room inside it so I could work without lawn mowers, cicadas, thunderstorms, and the rest of the house making their way into recordings.
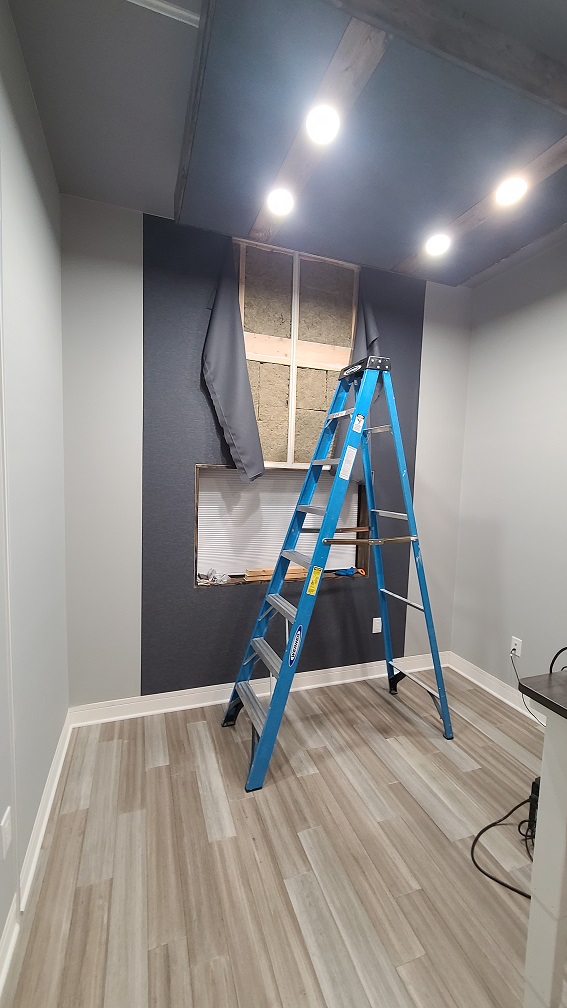
BeforeAfter, or at least finished for now
I started this because acoustic treatment alone wasn't going to solve the noise getting into the room. Once I decided to isolate it properly, the project turned into framing, structural loads, HVAC, electrical, acoustics, code, permits, SketchUp, a lot of math, and a surprising amount of crawling around in an attic.
I did most of the work myself. There was blood, sweat, tears (lots of tears), and one ladder collapse while I was raising a ceiling panel that left me convinced for a while I'd broken my thumb. It turned out to be badly sprained. The 250-pound ceiling panels were the point where doing everything alone stopped being a good idea.
The room has never been about chasing a mathematically perfect response. I wanted isolation that worked, a room that sounded good, and a place I actually enjoyed spending long days in.
plans.
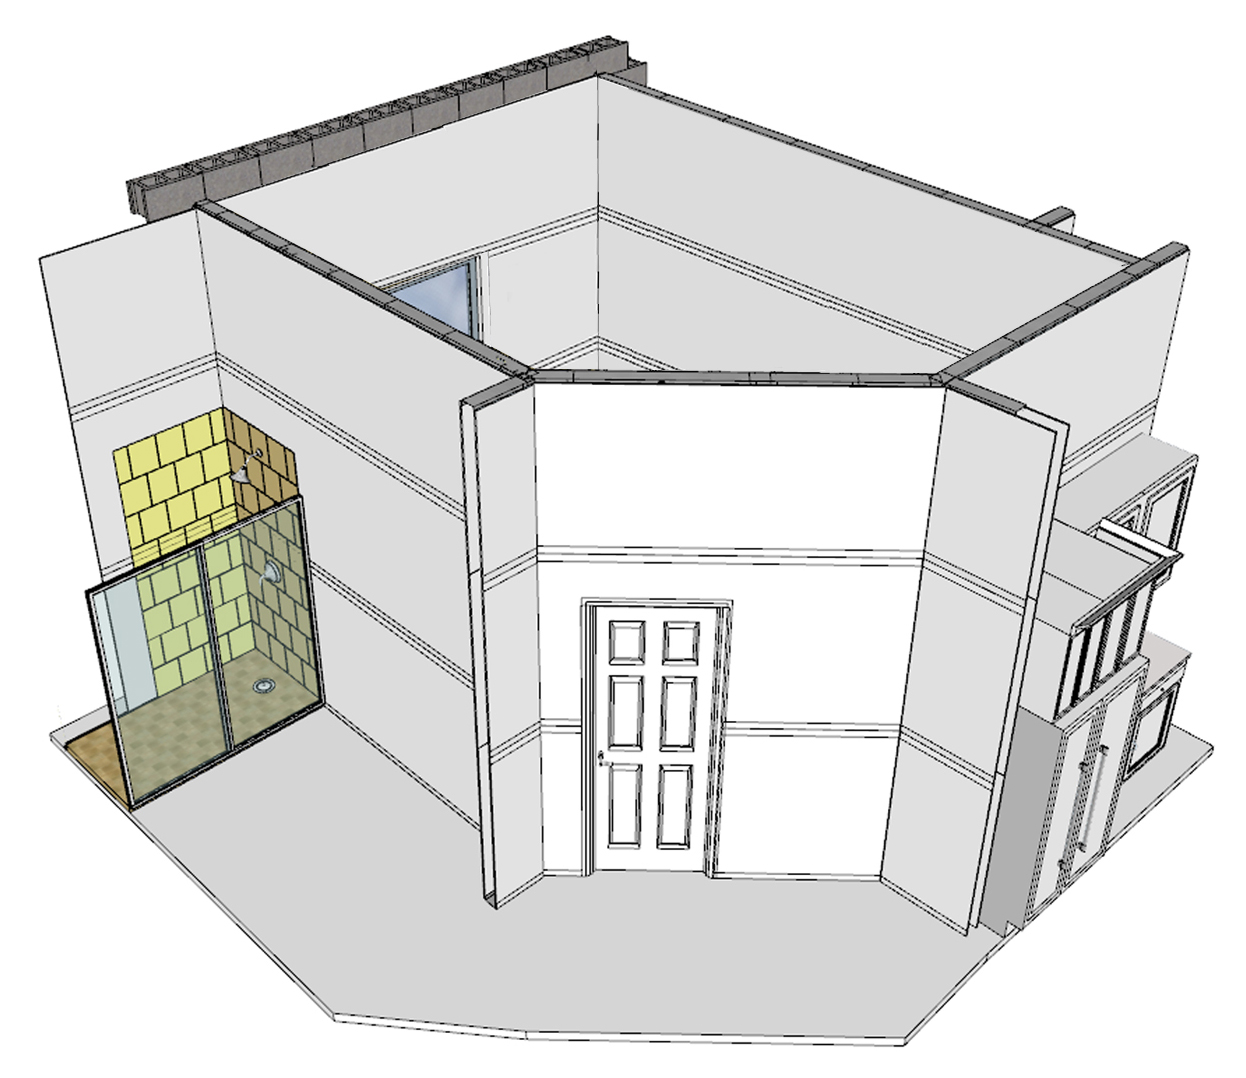
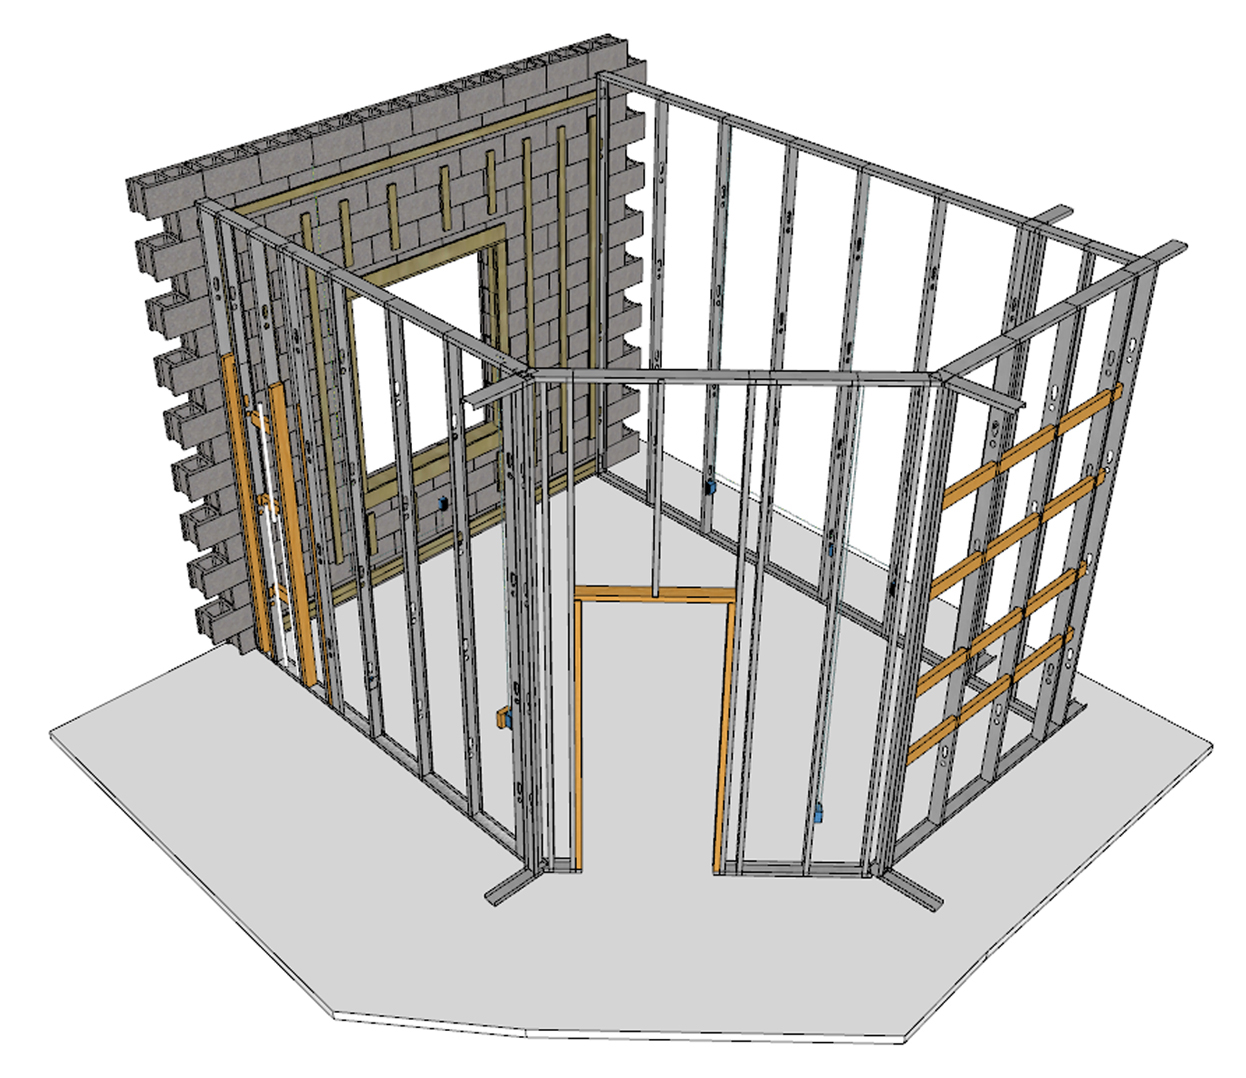
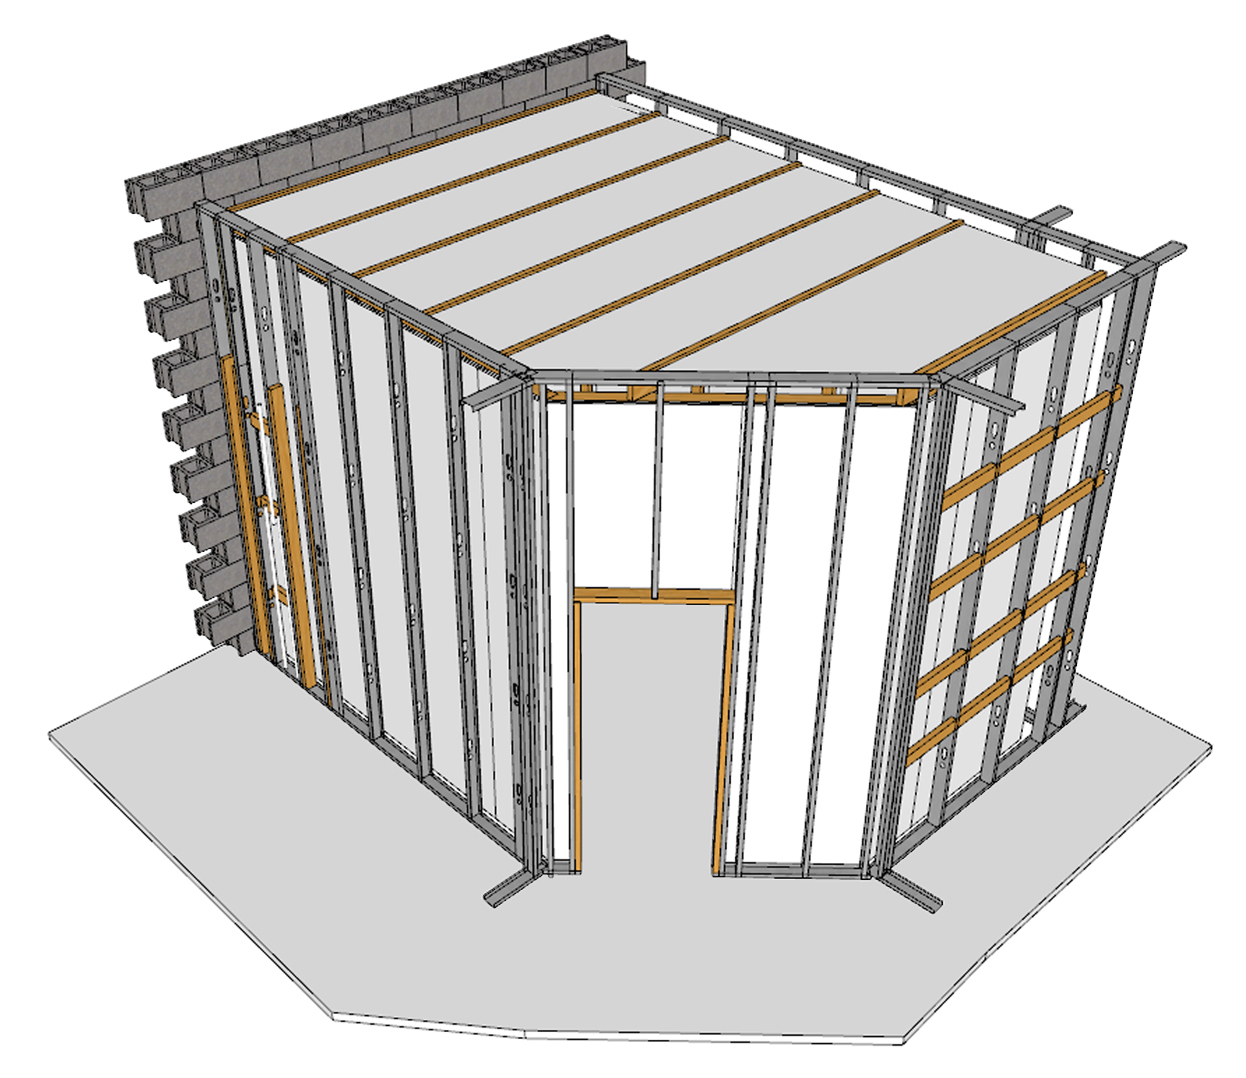
I tried to build as much of the room as I could on paper and in SketchUp before I started building it with lumber.
The starting point
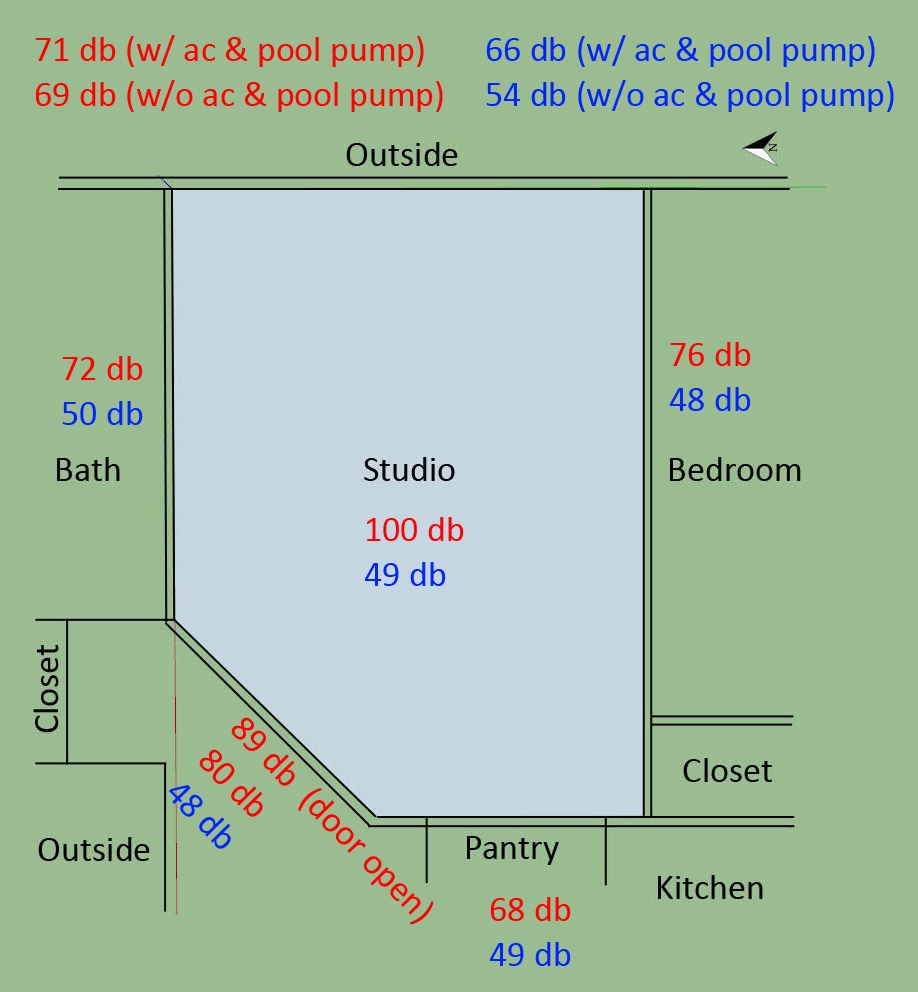
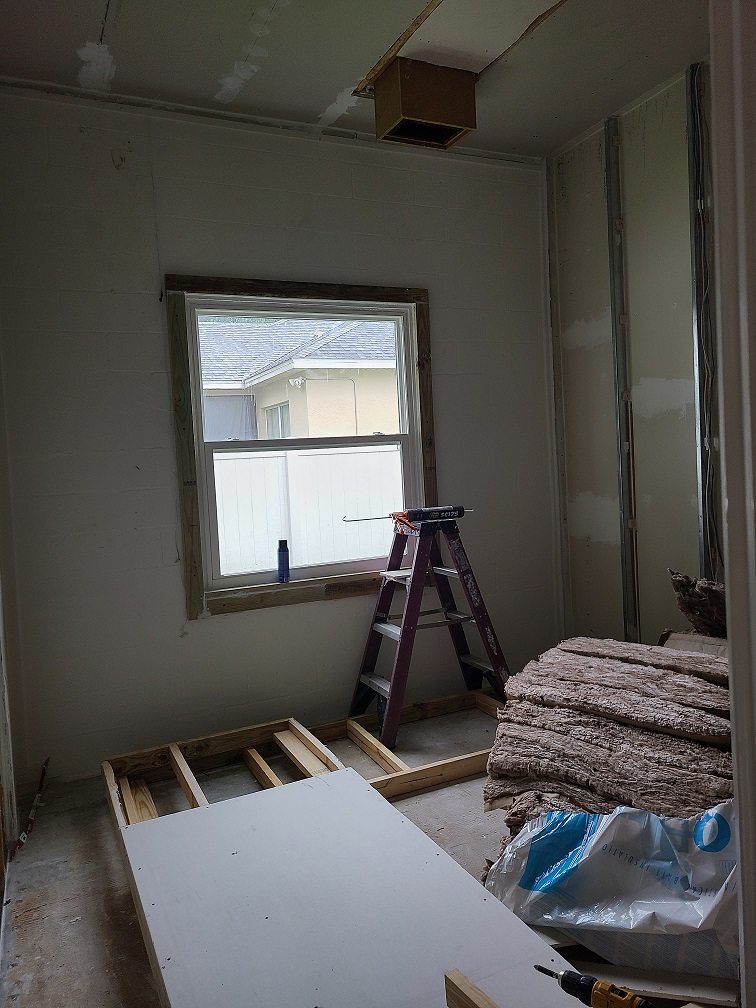
The original room wasn't isolated or meaningfully treated. I could hear lawn mowers, cicadas, thunderstorms, and the rest of the house. Treatment could improve what happened inside the room, but it wasn't going to stop outside noise from getting in.
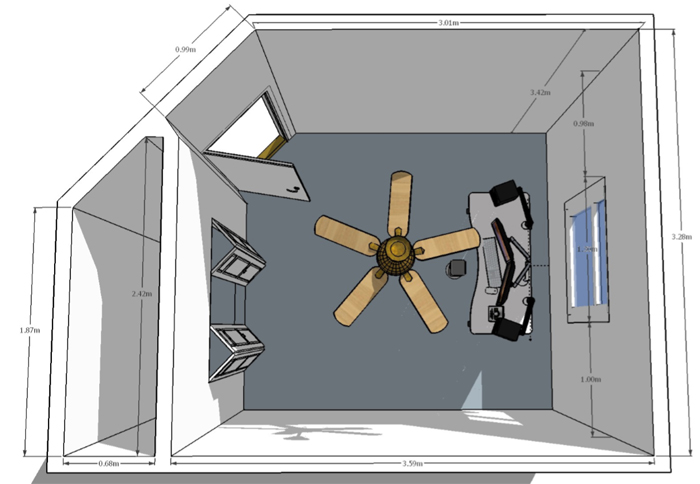
The space itself wasn't helping either: limited length, a chopped-off corner, a closet, a window, a ceiling fan, and a 12-foot ceiling. I took SPL measurements to get a rough baseline of the existing isolation before deciding how far I wanted to go.
Building it in SketchUp first
I recreated the existing space in a legacy version of SketchUp using measurements from the real room. I marked studs, outlets, windows, vents, and anything else that could affect the new shell. It took hours, but it gave me somewhere to make mistakes before making them with lumber.
This was also where I committed to an inside-out room-within-a-room rather than isolation clips. It cost me more space, but I was convinced it would give me the isolation I wanted for the money.
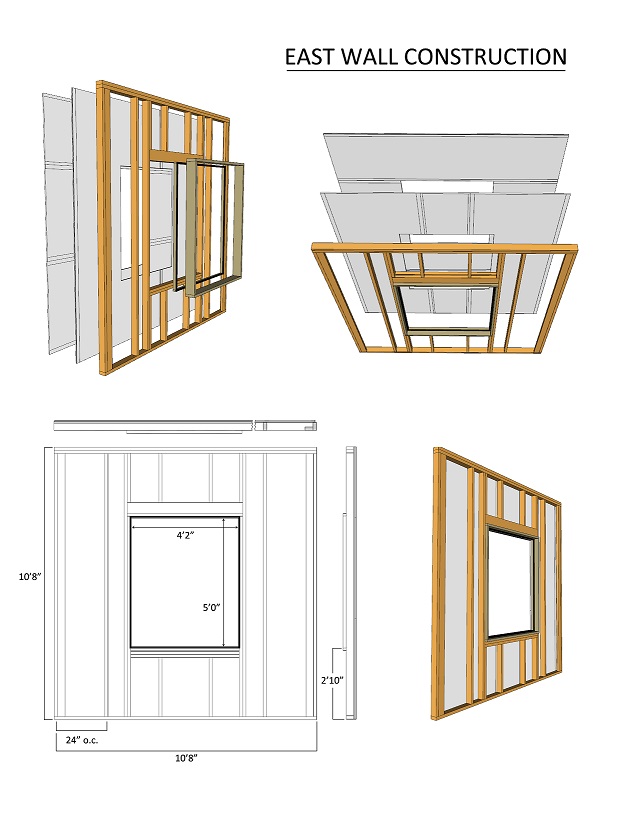
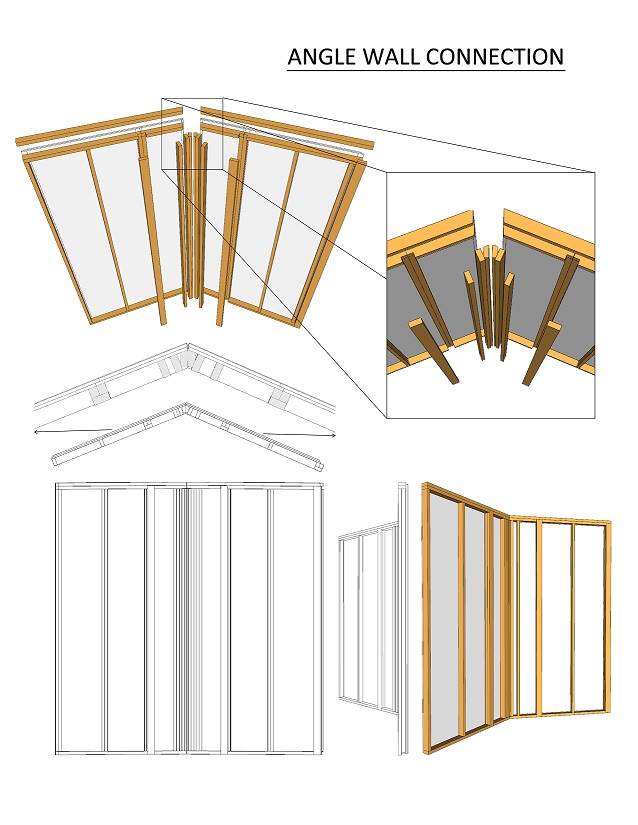
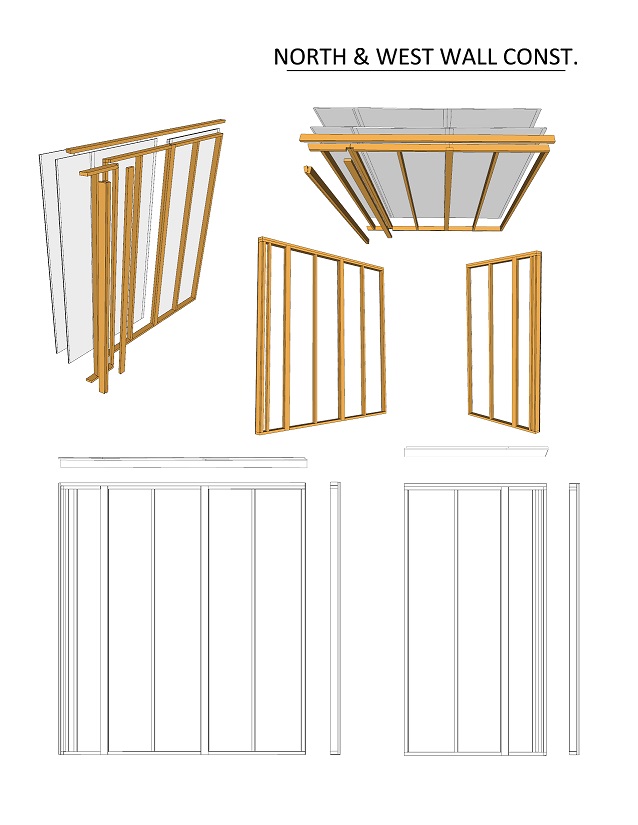
Wall and permit drawings
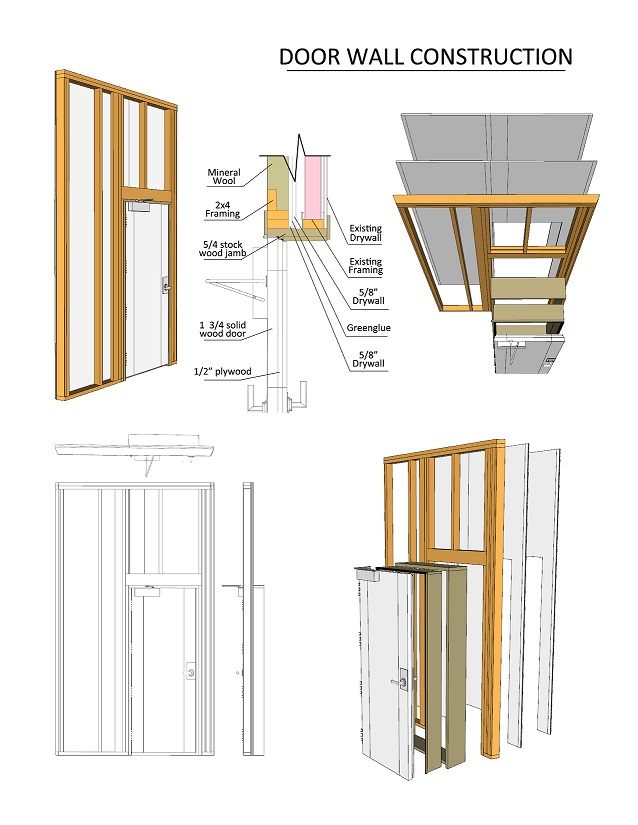
I drew the wall assemblies and used the plans for the permit and for the actual build. Having the dimensions worked out ahead of time made wall assembly much faster once construction started.
Door wallEast wallAngle wallNorthwest wall
HVAC and silencer boxes
Fresh air became its own design problem. I took free HVAC classes to better understand static pressure and CFM, reread the relevant sections of Rod Gervais' book, talked with an HVAC contractor, and worked through the design with people on the studio-building forums.
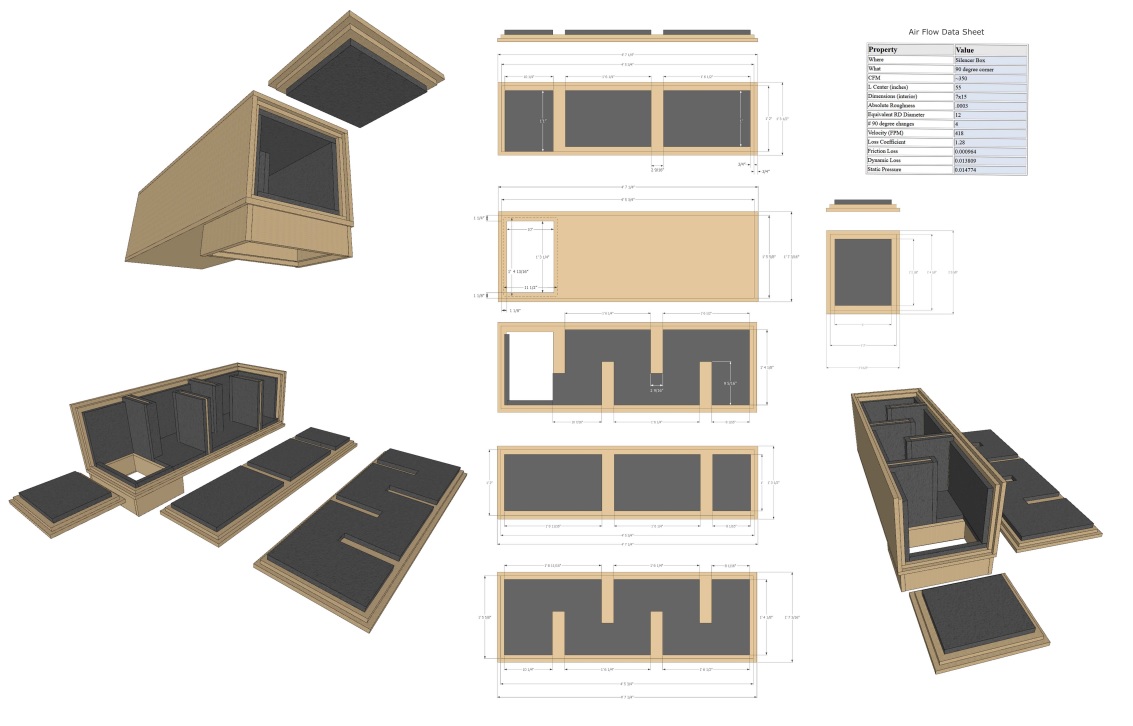
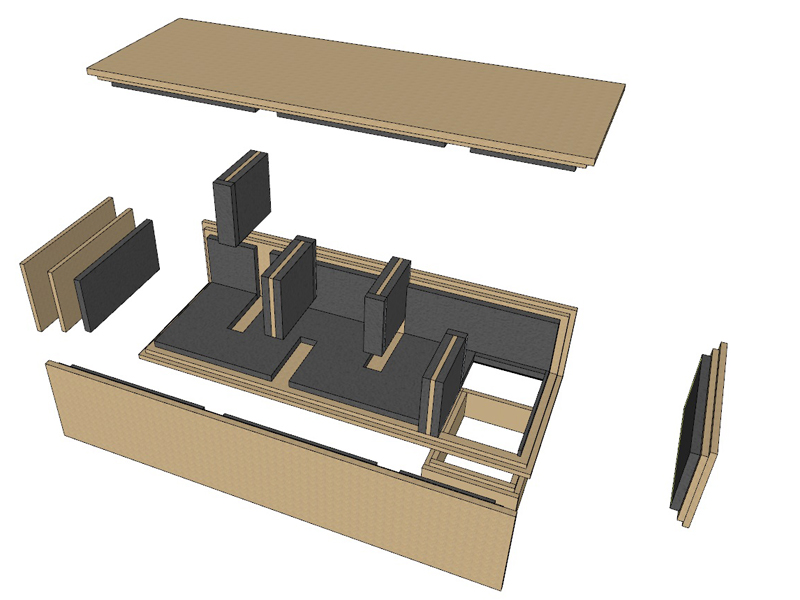
The plan was to use the central system for fresh air and a mini split for temperature and humidity. I designed the silencer boxes in SketchUp and submitted the final drawing as an addendum to the permit.
The final silencer-box drawing submitted with the permit addendum.
Once the plans were settled, I started taking the room apart and worked forward from there.
Taking the room apart
I had the plans drawn and a permit from the city. I was told a permit probably wasn't necessary because I wasn't altering the original structure, but I preferred having the work documented for a future sale, an insurance claim, or whatever problem I hadn't thought of yet.
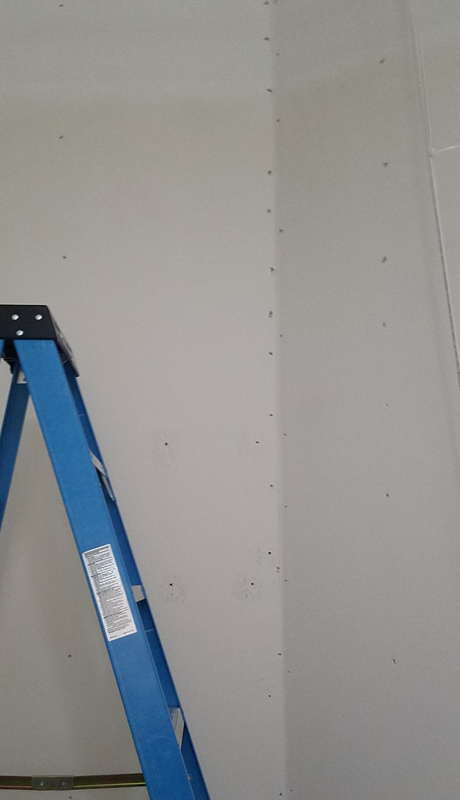
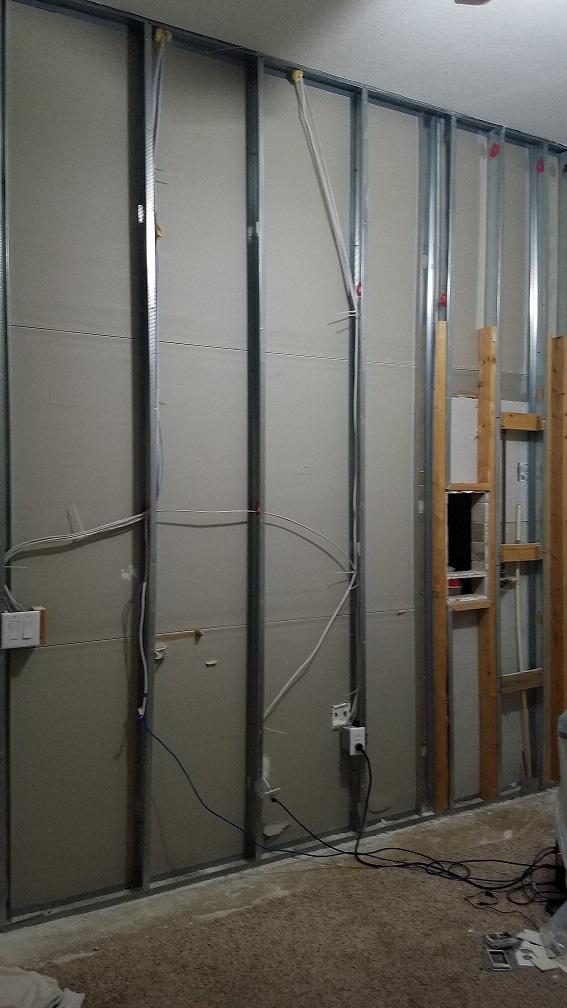
I started small: ceiling fan, outlet covers, and a magnet to find the screws buried under the drywall compound. Then the carpet, closet, and wallboard came out. I tried to keep the drywall intact because I already knew I wanted to reuse as much of it as possible.
Fixing the surprises
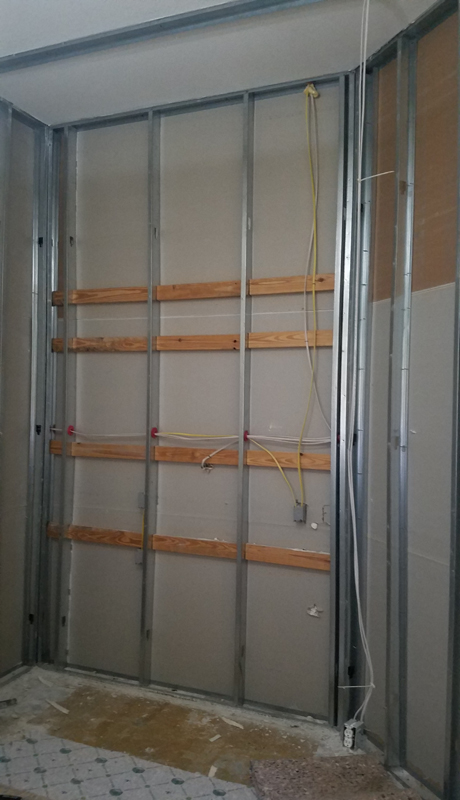
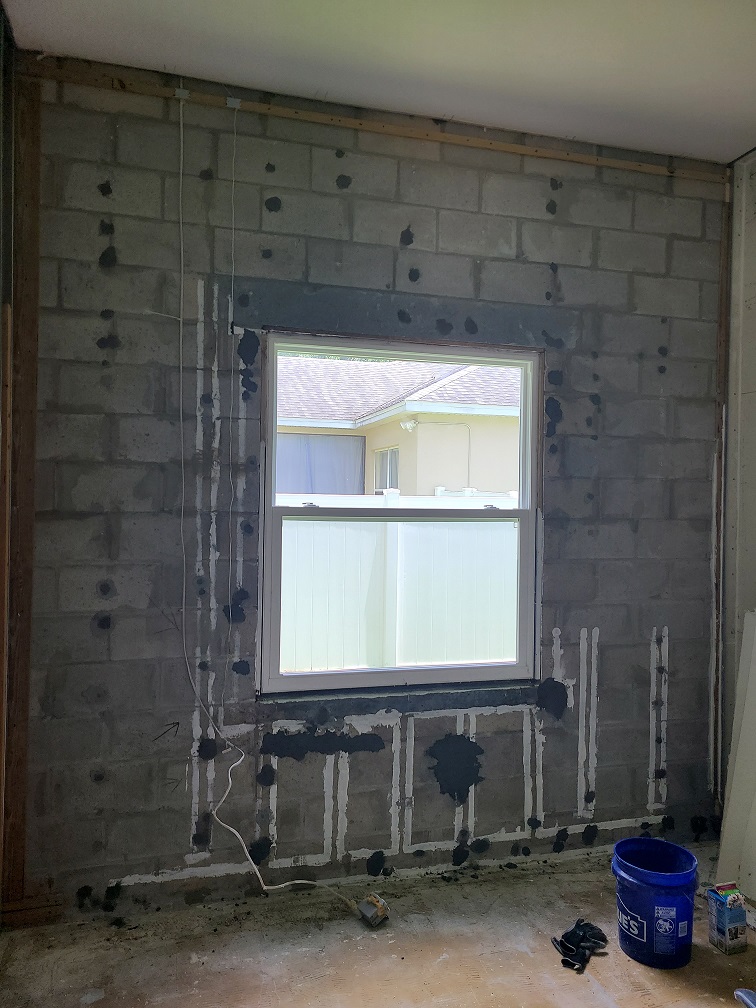
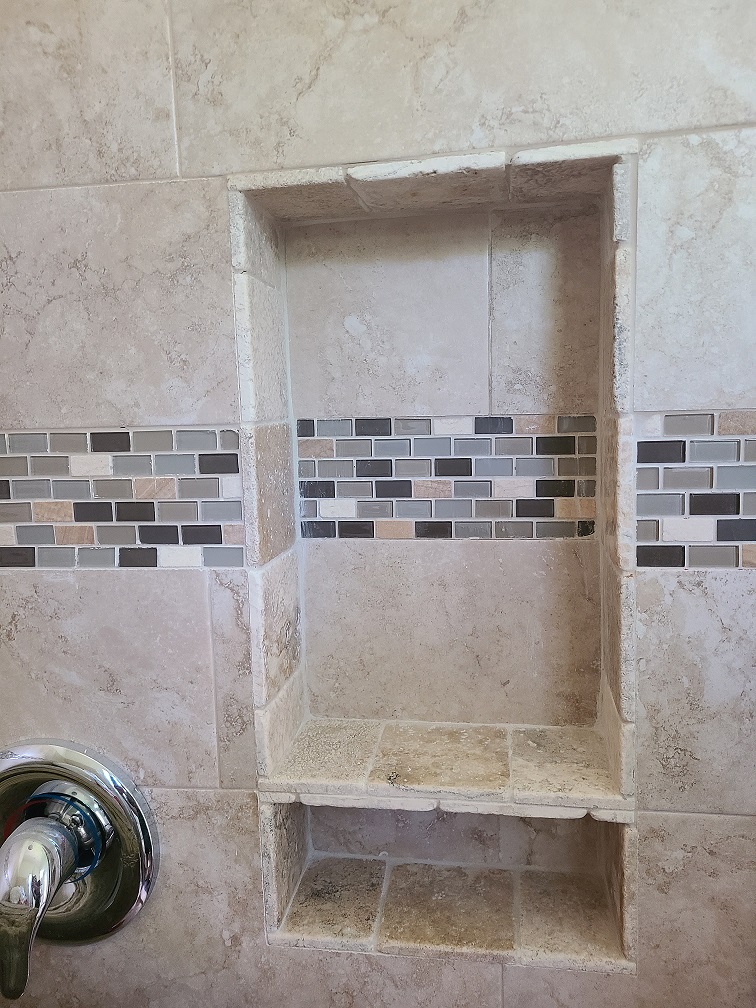
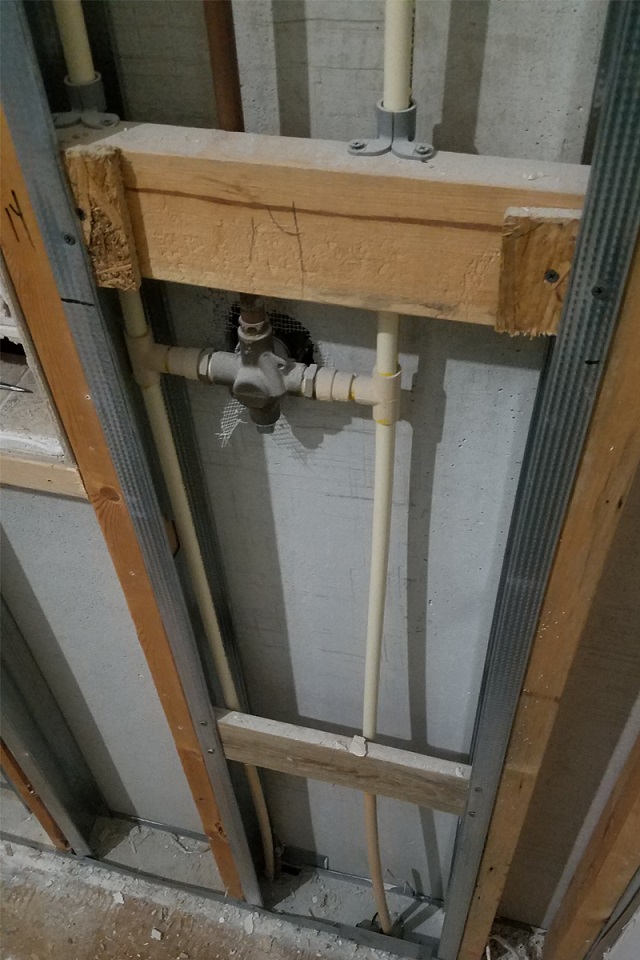
Taking the drywall off exposed exactly the sort of things people had warned me about. Water was getting through cracks in the cinder-block wall during heavy rain, and a shower cubby on the other side had been tiled directly over drywall instead of cement board.
I sealed the exterior cracks, repaired the block, rebuilt the shower cubby properly, sealed around the plumbing, added rockwool, and closed everything back up. The drywall I'd removed was cut down, coated with Green Glue, and reused to add mass to the existing outer leaf.
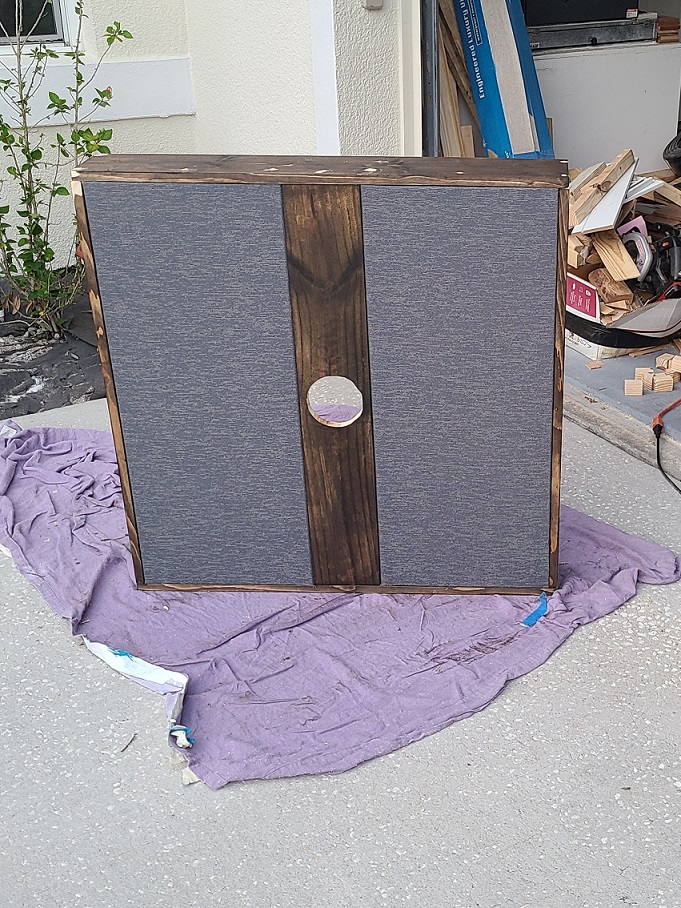
Building the silencer boxes
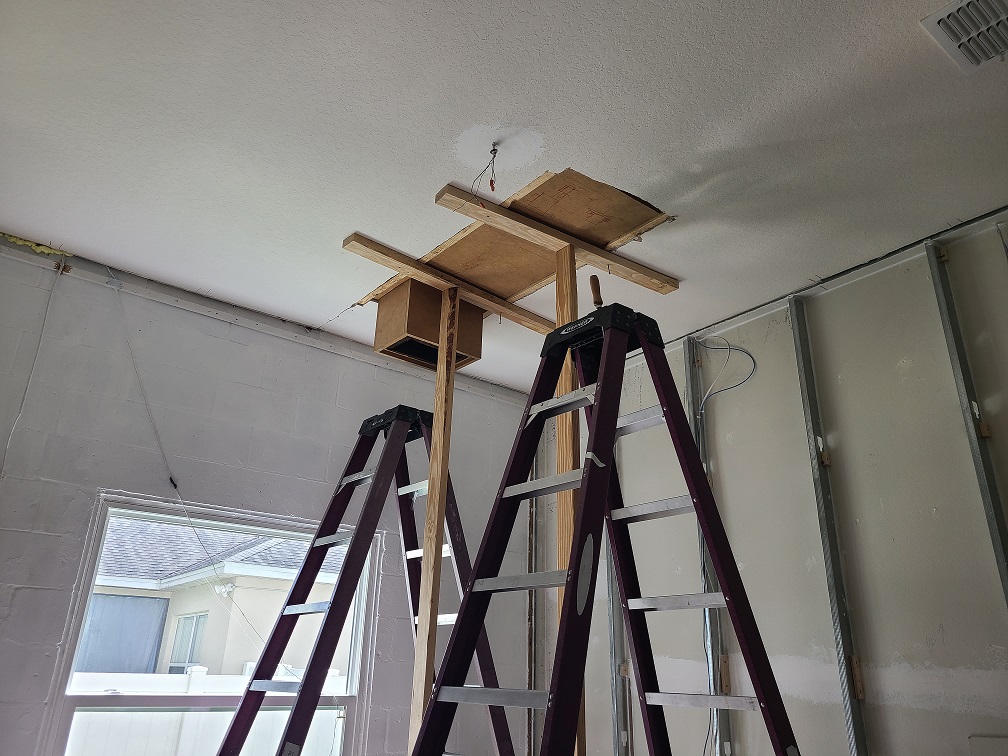
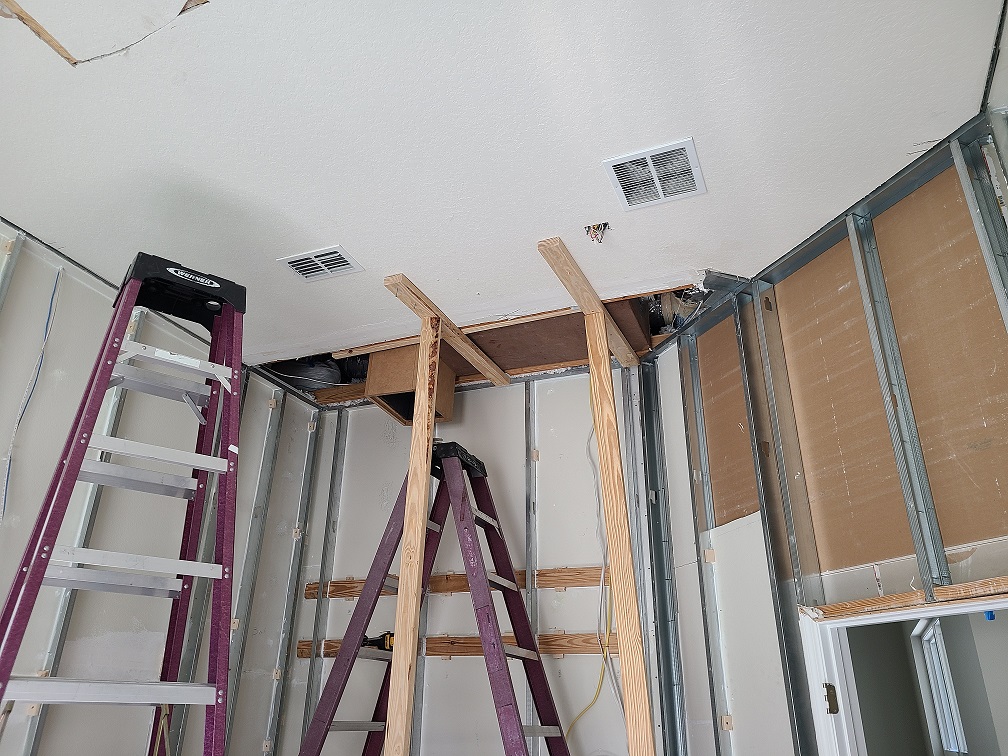
The finished silencer boxes weighed about 235 pounds. I had originally planned to support them from the existing roof trusses. Several people told me that would be fine, but the numbers bothered me. I checked with the truss manufacturer, did the load calculations, and paid an engineer to review the plan. He confirmed the load was too high for the way I intended to use the trusses.
The design changed. The new room structure would support the boxes instead, while keeping them decoupled from the house. They probably would have hung there without an obvious problem, but "probably" wasn't good enough when the roof also has to survive a hurricane.
The room starts going back together
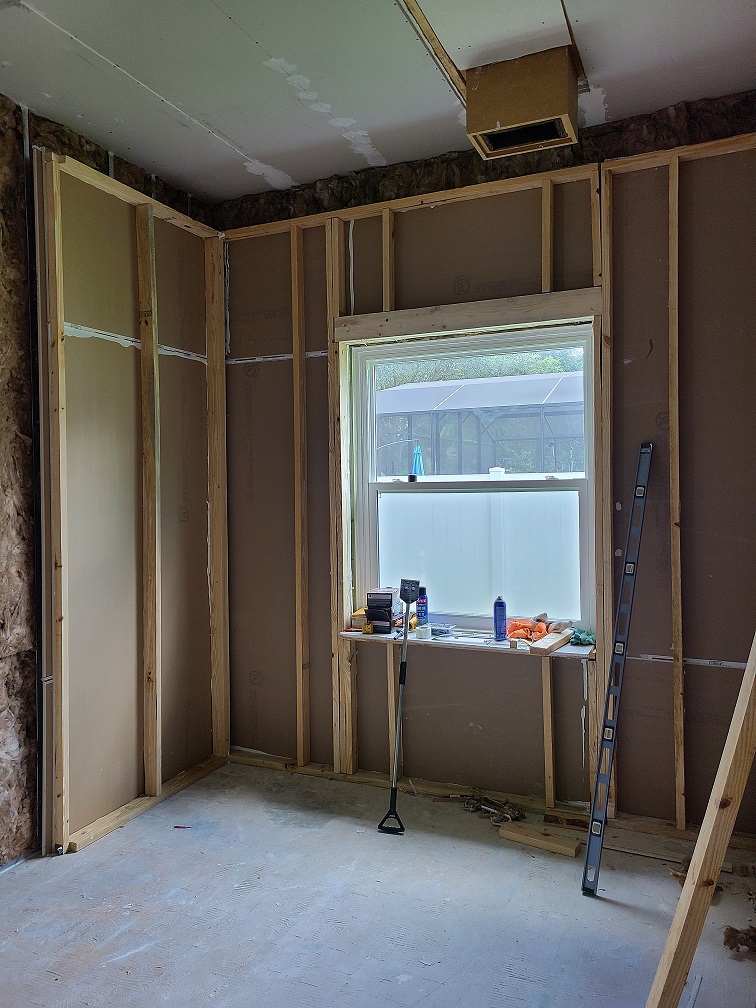
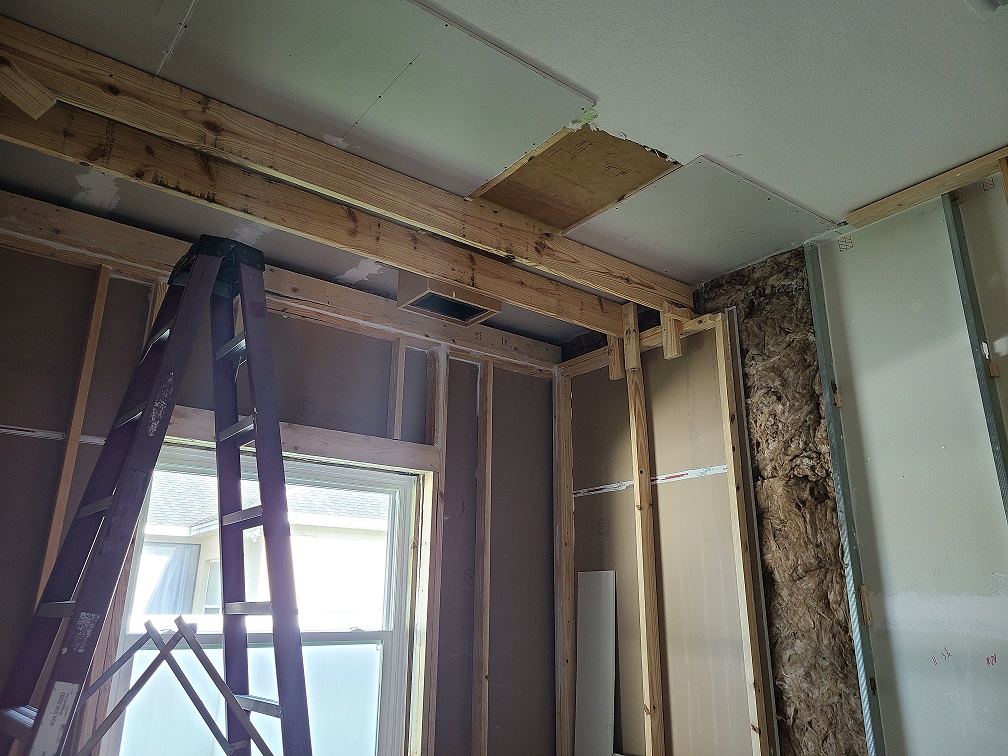
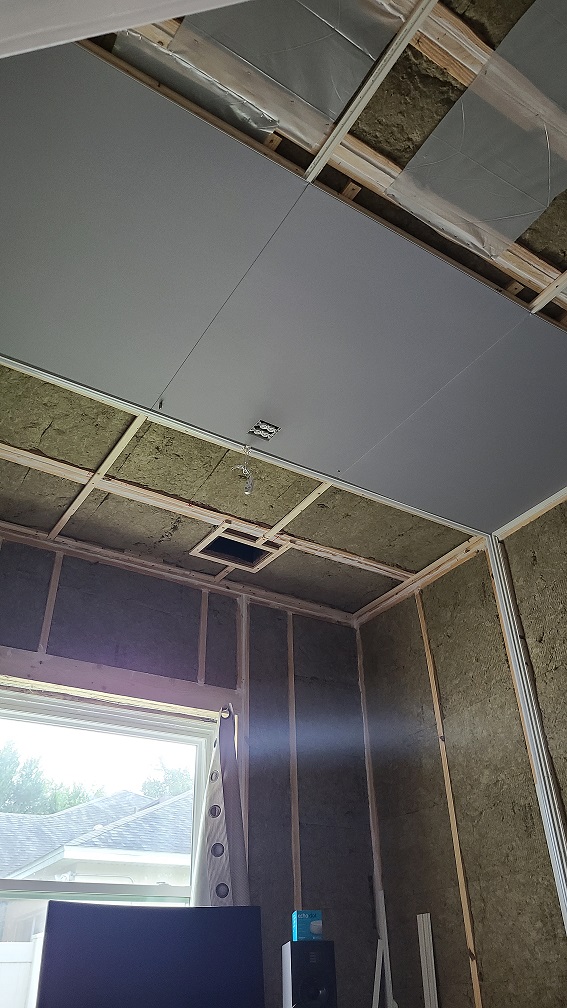
Once the measurements and drawings were settled, wall assembly moved surprisingly quickly. The new room is built inside-out, with roughly a four-inch air gap around it and insulation between the new shell and the original structure.
The first wall immediately exposed a planning mistake: the silencer-box support was in the way. I had to brace the box, climb into the attic, and change the support before the wall could go into place.
The ceiling panels were another lesson. They were around 250 pounds. While I was trying to raise one by myself, the ladder folded underneath me and I badly sprained my thumb. I thought I'd broken it at first. After that, I accepted that some parts of this project required another person.
Insulation, flooring and the door
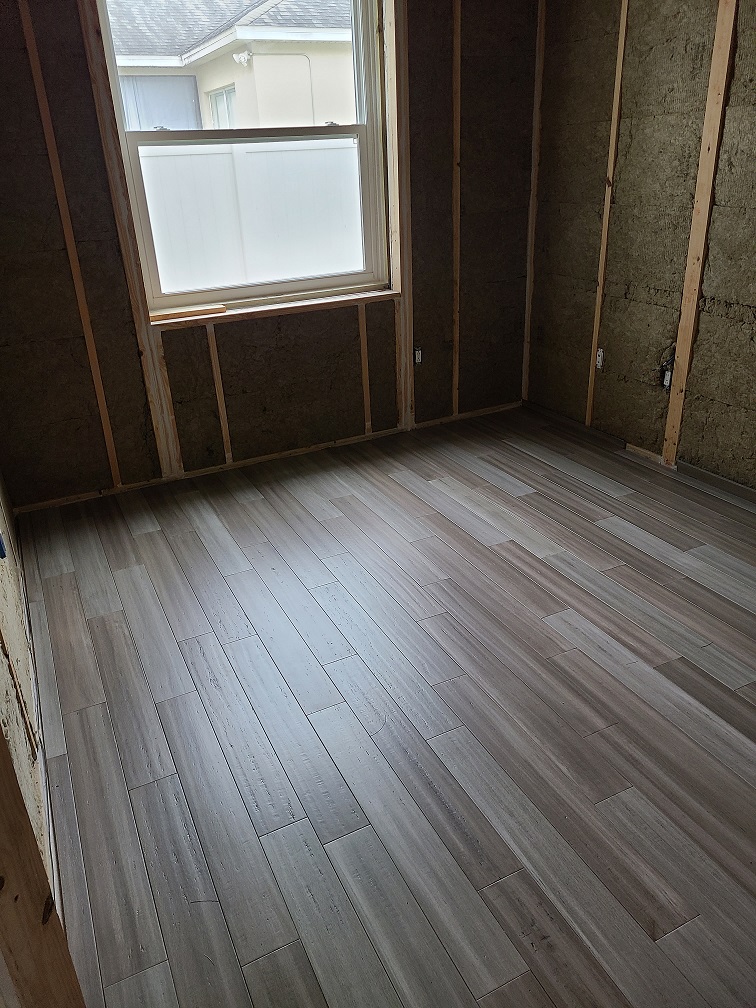
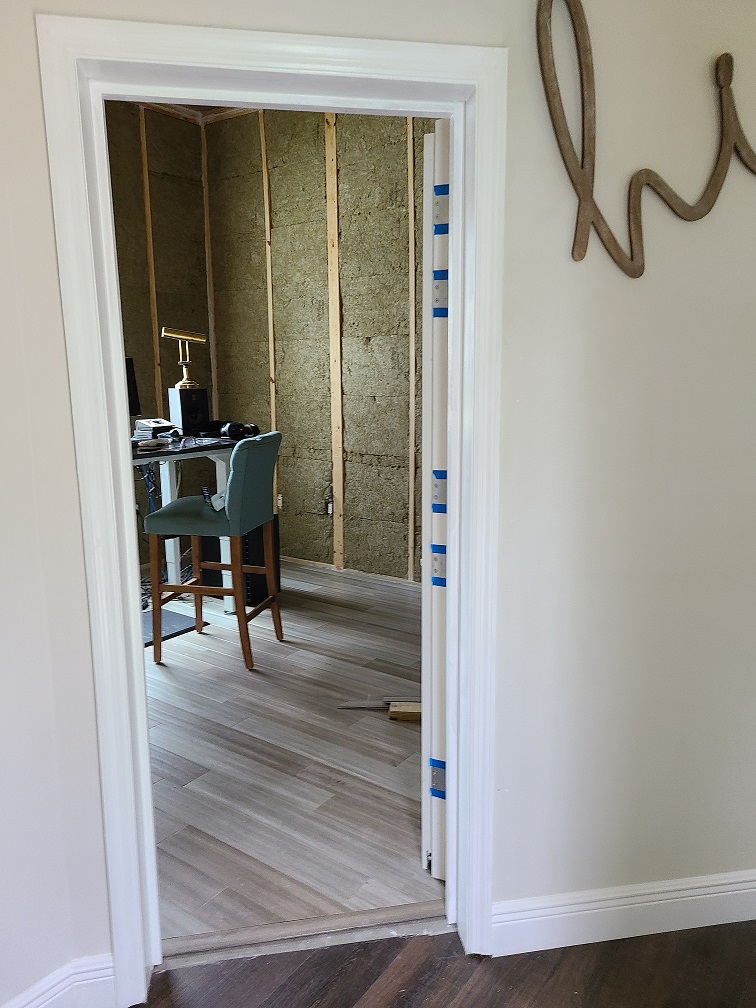
With the shell complete, I went back over every edge, nook, knot, and questionable gap and sealed it. Then came the rockwool, flooring, and the door I'd been putting off because it wasn't nearly as fun.
The door started as a solid-core slab and gained two layers of MDF with Green Glue between them, perimeter gaskets, and an automatic sweep at the bottom. By this point equipment had started creeping back into the room because I could finally work in it again.
Room correction, framing and fabric
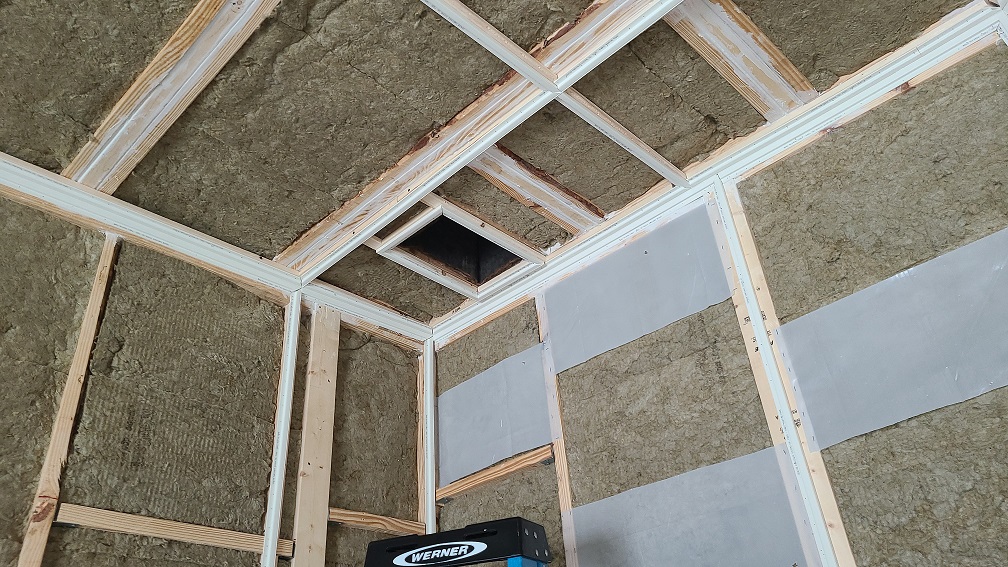
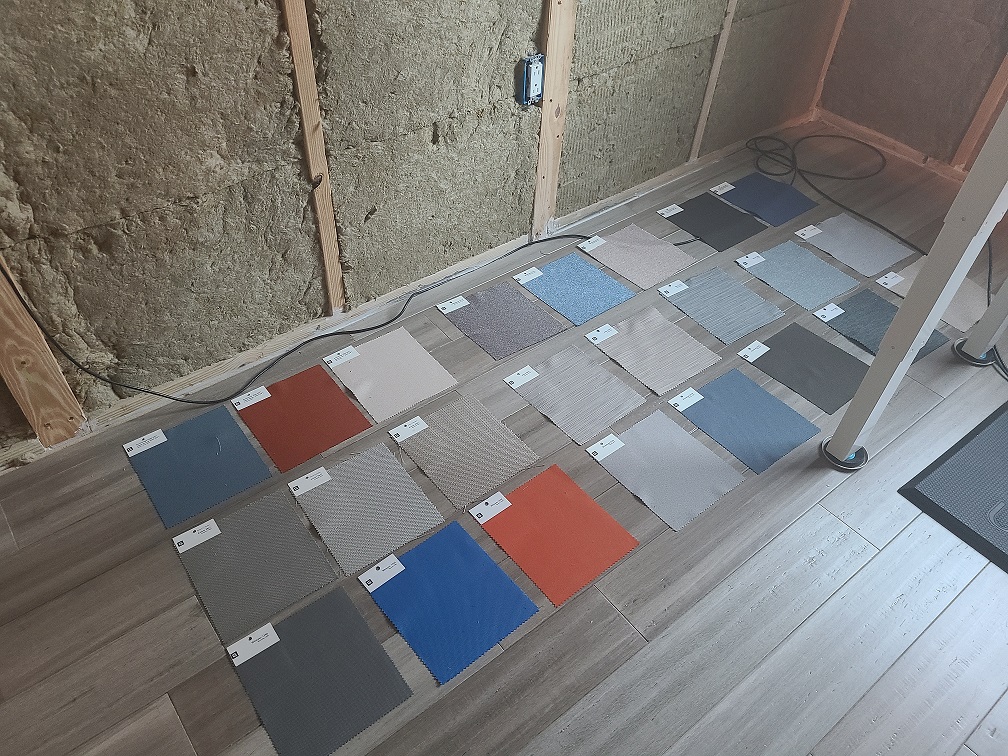
Once the door and flooring were in, I started working from the room. The isolation was dramatically better, but the room itself was too dead. Advice from the studio-building forums led me to experiment with 6 mil plastic behind parts of the treatment to bring some reflections back.
I could have stopped and measured every change. I also knew myself well enough to know that would turn into an endless loop of measuring, changing, and measuring again. At some point I decided I wanted a pleasing room to work in more than I wanted a perfect graph.
Lighting and the ceiling cloud
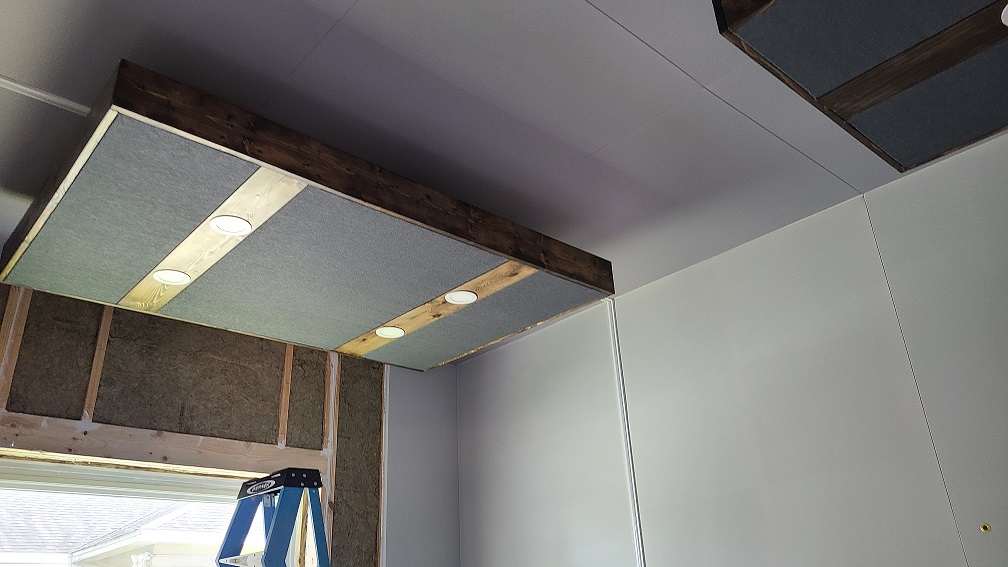
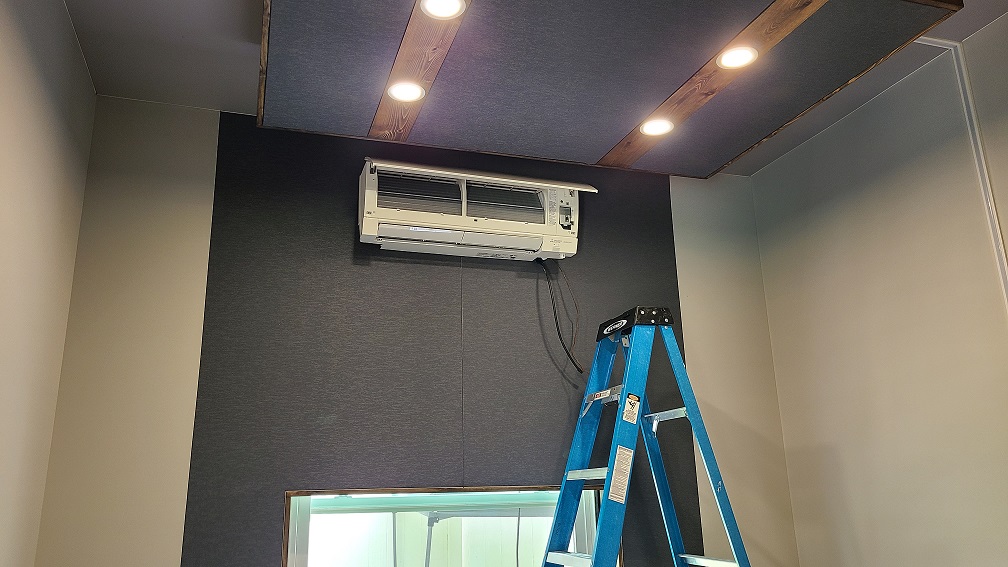
I wanted the studio to be a smart room, with lighting zones, monitors, the video screen, audio interface, desk, and other equipment controllable without walking around flipping switches. The lighting plan changed a few times, but the ceiling cloud became the visual center of the room.
Mini split and the window decision
The mini split was one of the places I wasn't willing to compromise. It was installed by a Mitsubishi contractor and handles temperature and humidity while the central HVAC connection supplies fresh air.
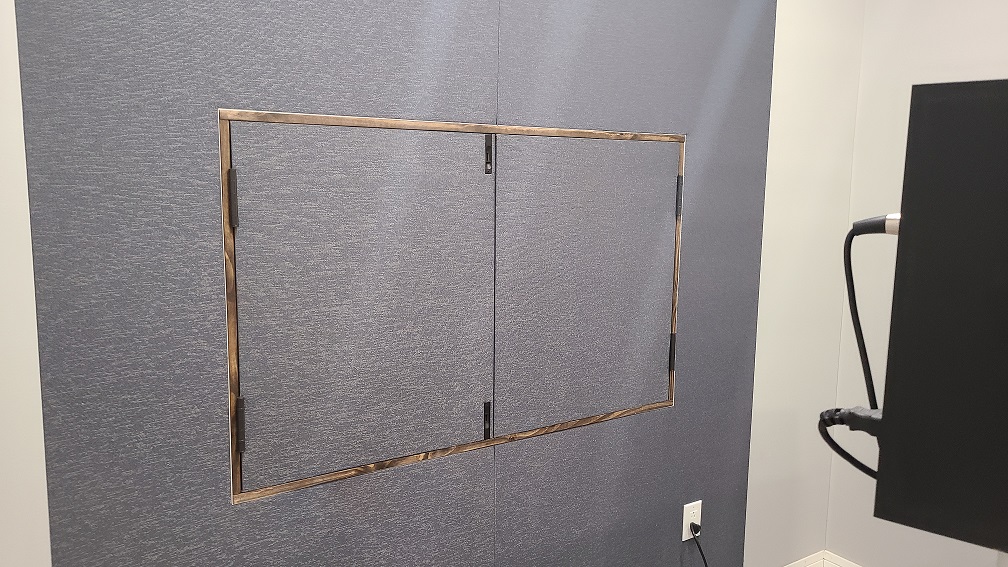
The window was the opposite. I loved the natural light and even had a plan for automated blinds, but the isolation glass was going to cost thousands more than I wanted to spend. I kept the required egress and enclosed the opening for less than $200 instead.
Finished. For now.
I still hadn't done the final REW tests, but I was content with the way the room sounded and wanted to live and work in it for a while before chasing more changes. There were still little things I wanted to polish, but this was the point where it finally felt like a studio instead of a construction project.